
You are currently browsing the tag archive for the ‘Sponge’ tag.
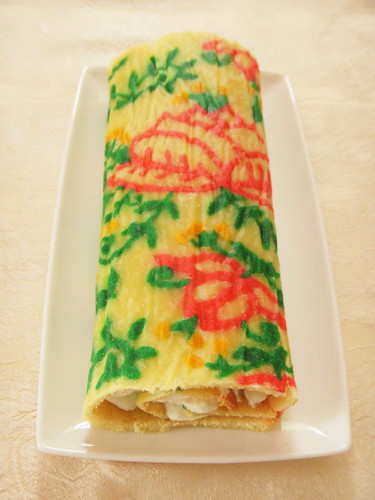
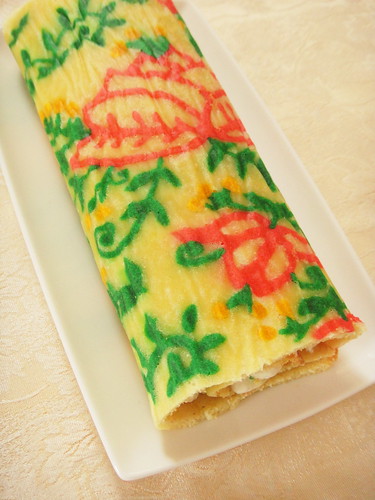
This month’s challenge was brought to us by Korena from Korena in the Kitchen who challenged the group to make decorated Swiss rolls in the style of Japanese food blogger and cookbook author Junko, who has taken the internet by storm with her adorable kawaii versions. This concept is a standard French pastry technique with the use of décor paste to create a pattern on a joconde sponge (which was tackled by the Daring Bakers back in 2011), and making it into a Swiss roll is an obvious next step. Korena decided to first try it the French way. Unfortunately the results were not stellar – the décor paste cracked and the filling escaped when the cake was rolled up, because the décor paste was harder and less flexible than the surrounding sponge cake.
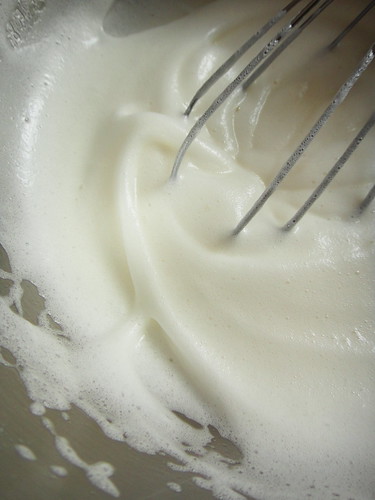
For her next try, she turned to Junko’s deco roll method where, instead of décor paste, a small amount of sponge cake batter is used to pipe the decorative pattern, which ensures that the pattern and the cake are the same texture so that the cake rolls up with no problem. The sponge cake itself is very elastic thanks to all the whipped egg whites, and this method includes a simple syrup to brush on the cake to keep it moist and pliable. And it works like a charm! This sponge cake does not contain any chemical leaveners, so its volume is dependent on the air whipped into the egg whites, and you want to keep as much air in the batter as possible before it goes in the oven.

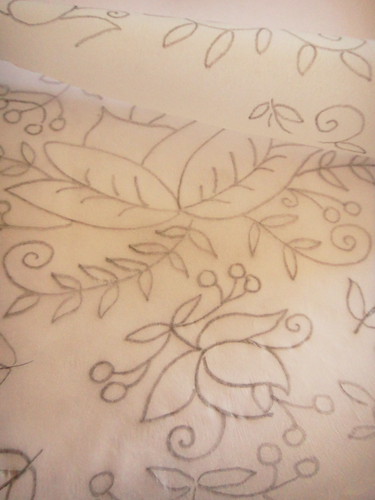
You can leave the vanilla sponge cake plain or tint it with food colouring, or you can make it cocoa or matcha or coffee-flavoured. The cocoa and matcha versions will be a little bit drier and therefore you must reduce the baking time by a minute or two, else it may crack a bit when rolling. Unless you are really good at free-handing your decoration, our hostess Korena recommends making a stencil for piping the pattern. It is important to remember that it will be a mirror image when baked into the cake, so make sure the words on the stencil are backwards so that they will be the right way around on the cake.
For positioning the stencil, if you have a pattern or decoration that you want centered on the top or evenly on each side of the roll (for example, a word written on the top of the roll), center the stencil in the middle of the 10″x10″/ 25 x 25cm pan. For the 9″x13″ / 23 x 33cm pan, center the stencil in the middle of the upper two-thirds of the pan and make sure the pattern is at the top when you are rolling up the cake. When piping the decoration, keep in mind that thicker lines are best – the thinner the line, the more likely it will stick to the parchment when you peel it off. When filling the roll, err on the side of less rather than more as the cake is much easier to roll with less filling.
DECORATED SWISS ROLL
Ingredients:
For the Egg Yolk Mixture
3 large egg yolks
35g / 2 tablespoons + 1 teaspoon caster sugar
60ml / 1/4 cup water
40ml / 2 tablespoons + 2 teaspoons vegetable oil
5ml / 1 teaspoon vanilla extract
80g / 4/5 cup cake flour
Pinch of kitchen salt
For the Pattern Mixture
15ml / 1 tablespoon above egg yolk mixture
Approximately 3g / 1 teaspoon cake flour
Food colouring, if desired
1 large egg white
Pinch of cream of tartar
For the Meringue
3 large egg whites
1/2 teaspoon cream of tartar
30g / 2 tablespoons caster sugar
Food colouring, if desired
For the Simple Syrup
10g / 2 teaspoons caster sugar
20ml / 4 teaspoons boiling water
1 ½ teaspoons liqueur, optional
For the Whipped Cream Filling
150ml / 2/3 cup heavy cream
15g / 1 tablespoon caster sugar
½ teaspoon vanilla extract
125ml / 1/2 cup fresh fruit or jam
Method:
- Preheat oven to 340˚F / 170˚C. Line 10″x 10″/ 25 x 25 cm square baking pan with parchment paper.
- Using a paper towel, lightly but thoroughly grease the parchment paper lining pan with vegetable oil.
- Place stencil underneath parchment. For a square pan, make sure the pattern is in the middle of pan.
- For a 9”x13” / 23 x 33cm rectangular pan, make sure the pattern is in the upper third of the rectangle.
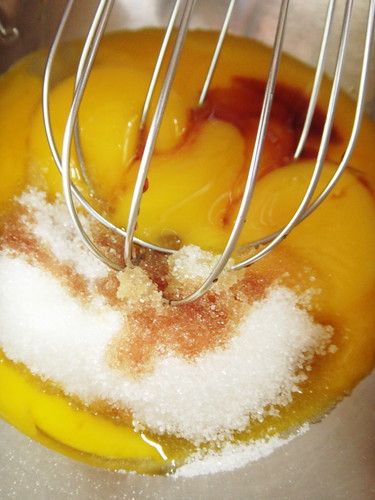
- Beat the egg yolks with the caster sugar on medium-high speed with a mixer until very pale and thick.
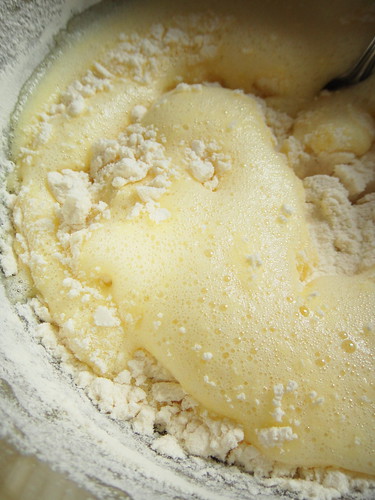
- Add water, oil, and vanilla and mix to combine. Sift over flour and salt; mix to make a smooth batter.
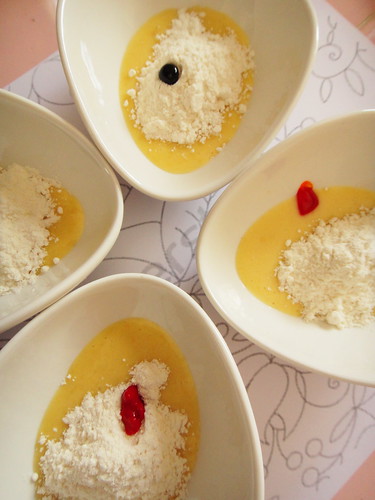
- Place 15ml / 1 tablespoon of the prepared egg yolk mixture in a small bowl and mix in the cake flour.
- Divide mixture into as many small bowls as you need colours. Tint each with the desired food colour.
- In clean bowl, beat the single egg white with an electric mixer and whisk attachment until it is foamy.
- Add cream of tartar; beat till stiff peaks form. Measure out 45 ml/3 tablespoons egg white meringue.
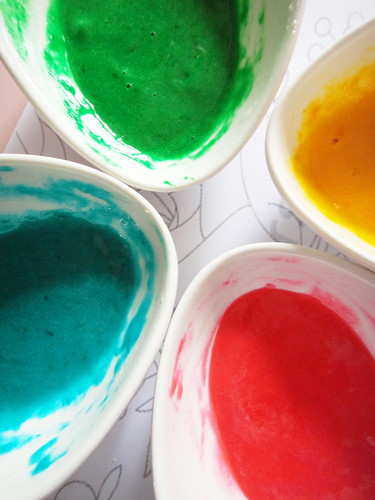
- Divide this portion of whipped egg white evenly between bowls of coloured mixture. Mix to combine.
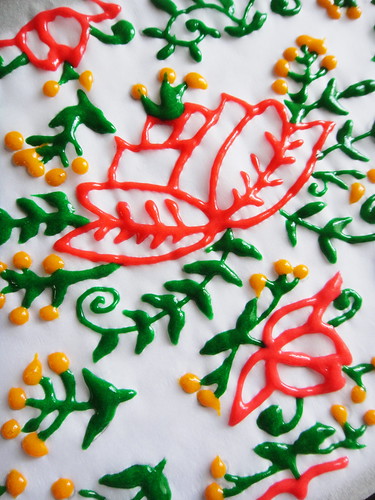
- Scrape each coloured mixture into a piping bag and pipe pattern onto the prepared parchment paper.
- It is very important to remember to pipe the pattern in layers with the details in the foreground first.
- To avoid smudging the pattern, freeze each layer of the pattern until firm before adding the next layer.
- Bake the pattern in the preheated 340˚F/170˚C/Gas mark 4 oven for 60 to 90 seconds, until just set.
- In a clean bowl, beat egg whites with an electric mixer and whisk attachment on medium-high speed.
- Add cream of tartar and beat until soft peaks form. Gradually add in caster sugar, a spoonful at a time.
- Beat whites until stiff and glossy peaks form and mix in any unused egg white from the previous steps.
- If you want to tint the cake batter with food colouring, mix your desired colour into egg yolk mixture.
- Mix the meringue into egg yolk mixture, folding gently with a spatula so as not to deflate the meringue.
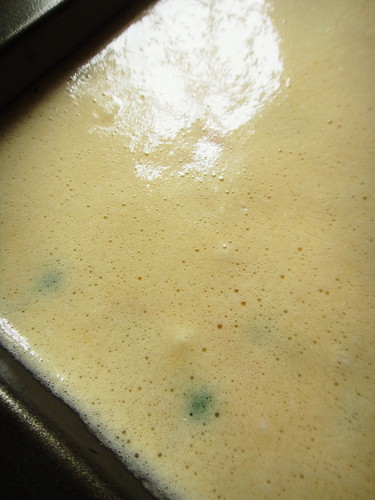
- Mix until batter is smooth and no streaks of meringue remain. Pour the batter over the baked pattern.
- Spread batter evenly into pan then drop pan onto counter 2 to 3 times to dislodge any large air bubble.
- Bake in preheated 340˚F / 170˚C / Gas mark 4 oven for 12 to 14 minutes, depending on the size of pan.
- Bake until just set and slightly springy. Place a fresh piece of parchment paper on top of the baked cake.
- Invert onto a rack. Lift off pan and stencil and gently peel parchment to reveal the baked-in decoration.
- Place the parchment paper back on it and allow the cake to cool between the pieces of parchment paper.
- Make sure cake is completely cool before filling. In small bowl, combine caster sugar and boiling water.

- Mix until the sugar is dissolved. Stir in the liqueur, if desired. Peel parchment paper off the cooled cake.
- Turn over so that pattern faces down and is horizontal. With a serrated knife, trim top and bottom edges.
- Make some very shallow cuts horizontally across the cake, about 1″/ 2.5 cm apart to help with the rolling.

- With a pastry brush, brush the simple syrup over the cake and let it soak in while you prepare the filling.
- Whip cream until soft peaks form, then add sugar and vanilla and continue to beat until firm peaks form.
- Spread jam evenly over cake. Leave the angled parts that you trimmed on the top and bottom edges bare.
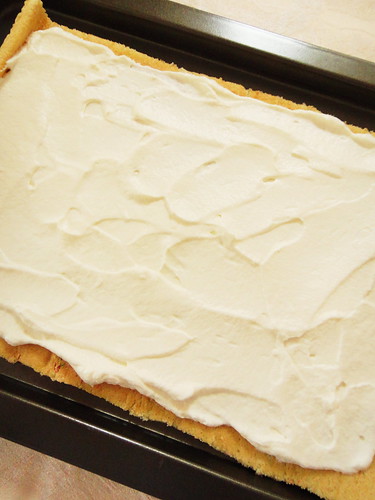
- Spread whipped cream evenly on top, leaving angled parts bare. Arrange fruit in lines in middle of cake.
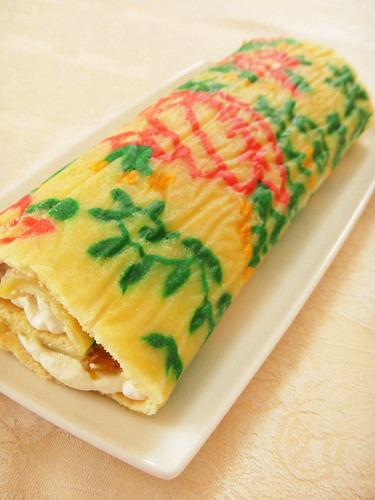
- Tightly roll up the cake from the bottom edge. Once rolled, twist parchment ends like a candy wrapper.
- This will secure the cake in a log shape. Refrigerate the cake for at least one hour until the filling is firm.

- Before serving, unwrap cake from the parchment paper and trim ends of the cake with serrated knife.
- Roll up in parchment again and re-shape if necessary, then transfer to plate. Cut into slices. Serves 8.
- Cake can be stored in the refrigerator, covered in plastic wrap for 2 days or in the freezer for 6 weeks.
Daring Bakers October Challenge
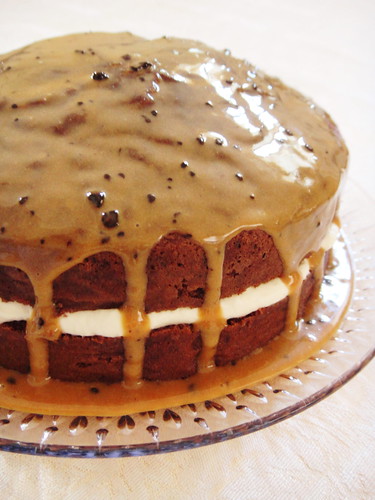
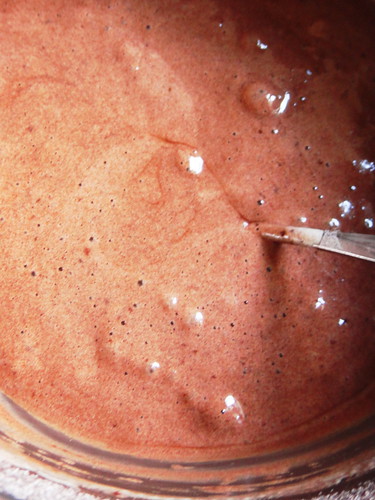
I just realized that I do not have a single decent straightforward recipe for a basic chocolate sponge cake on this blog. It eludes me how such a situation came to be but I immediately set into the kitchen to rectify this unimaginable blunder. My go-to recipe for a no-fuss sponge with all its inherent light and fluffy character is the chocolate sponge from The Australian’s Women Weekly. Featured in its 100 classic cake recipes book, this basic recipe might become your reference for a reliable chocolate sponge as it has been mine for years.
CHOCOLATE SPONGE CAKE
Ingredients:
For the Chocolate Cake
3 eggs, room temperature
1/2 cup (110g) caster sugar
1/4 cup (35g) corn flour
1/4 cup (35g) plain flour
1/4 cup (35g) self-raising flour
2 tablespoons cocoa powder
300ml heavy cream, whipped
For the Coffee Icing
3 teaspoons instant coffee
2 tablespoons full cream milk
11/2 cups (240g) icing sugar
1 teaspoon softened butter
Method:
- Preheat oven to 180°C (160°C fan-forced). Lightly grease two deep 20-cm circular cake pans.
- Line bases with baking paper. Beat eggs and sugar with electric mixer until thick and creamy.
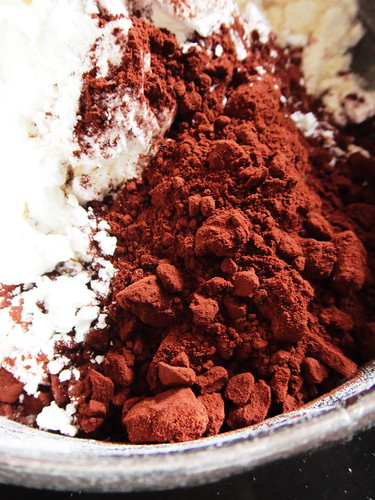
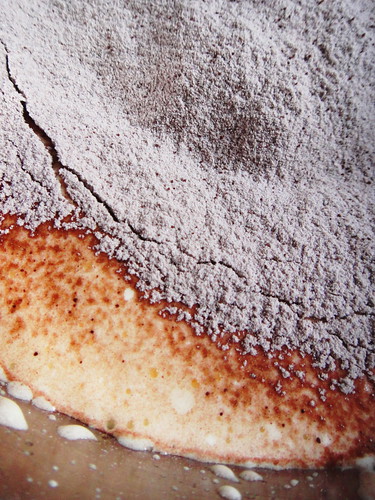
- Transfer the mixture to large bowl. Meanwhile, triple-sift dry ingredients together in a bowl.
- Using a balloon whisk or metal spoon, fold into egg mixture. Divide the batter between pans.
- Bake about 25 minutes. Turn out immediately onto a baking paper-covered wire racks to cool.
- Meanwhile, combine coffee and milk and stir till dissolved. Sift icing sugar into medium bowl.
- Stir in butter and coffee mixture to make a firm paste. Stir the mixture over simmering water.
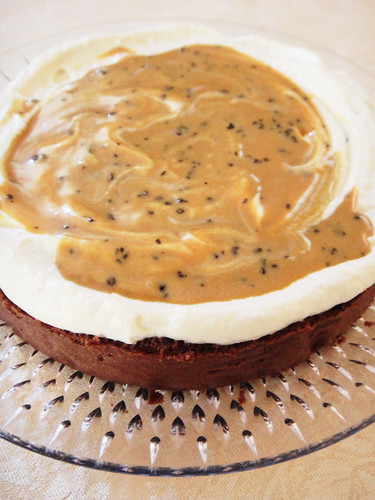
- Stir until icing is spreadable. Place one sponge on serving plate, spread with whipped cream.
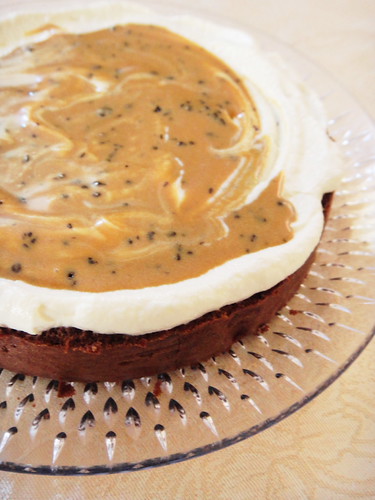
- Top with second sponge and spread its top with the coffee icing; stand until set before cutting.
- Sponge suitable to freeze before filling but is not suitable to microwave. Makes 10-12 servings.
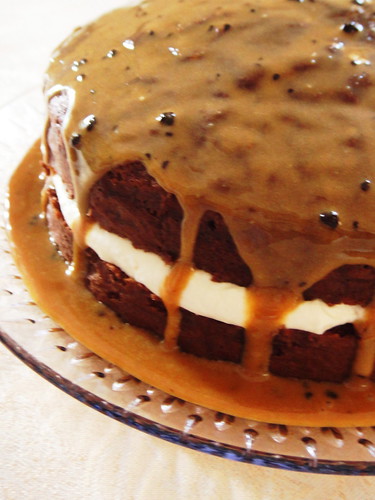
Chocolate Sponge Cake
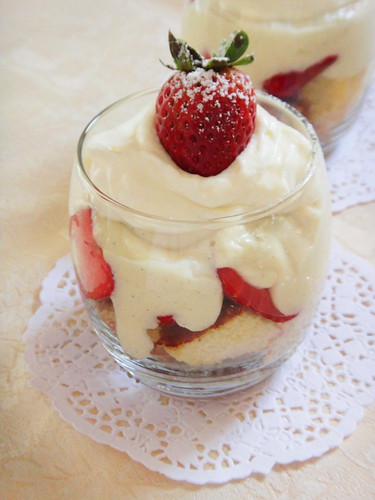
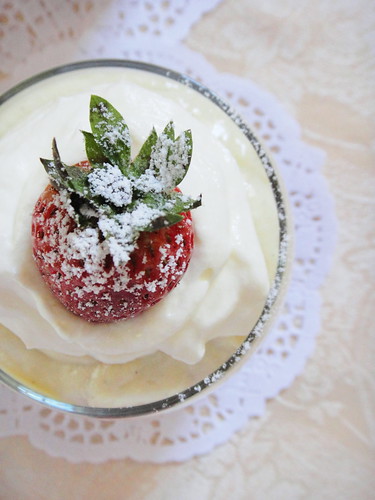
Trifle is not a well known dessert in Mauritian households except where the family happens to be of British descent or British expats who have migrated South in search of warmer climates. Trifle undeniably has its origins in English cuisine and usually holds the place of pride at Christmas tables and important family gatherings. It consists of a layered arrangement of cake or biscuit soaked in liquor, pastry cream or custard, fruit cut into slices or chunks and massive amounts of cream. The layers are made to overlap each over slightly like a piece of art, which give a striking visual impact when served in a large clear glass dish or bowl. This Strawberry and Cream version, from Simply Delicious Food, makes neat individual portions that are way more convenient to serve while looking every bit as pretty as a full scale centre piece. The macerated strawberries are release enough juice to soak the cake layers without turning them mushy but you can add a tablespoon or two of your favourite liquor if entertaining a crowd that can handle alcohol.
STRAWBERRY & CREAM TRIFLE
Ingredients:
For the Custard Cream
600ml full cream milk
5ml vanilla extract
4 egg yolks, room temperature
50g white caster sugar
2 tablespoons flour
4 tablespoons corn flour
Pinch of kitchen salt
100g mascarpone cheese
For the Strawberry Layer
800g strawberries, sliced
3 tablespoons caster sugar
1 teaspoon vanilla extract
For the Trifle Assembly
Swiss roll or madeira cake
200ml whipped cream
Sliced fresh strawberries
Icing sugar, for dusting
Method:
- To make the custard cream, heat the milk and vanilla in a medium saucepan till just before boiling point.
- In the meanwhile, mix together egg yolks, sugar, flours and pinch of salt till mixture is smooth and thick.
- When the milk mixture is hot, pour it slowly into the egg yolk mixture while stirring mixture continuously.
- When all the milk has been incorporated, transfer mixture back to the saucepan and cook over gentle heat.
- Allow to cook and thicken, whisking continuously. When the mixture turns thick, remove it from the heat.
- Beat in the mascarpone cheese. Place in a bowl and put a piece of cling film directly onto surface of cream.
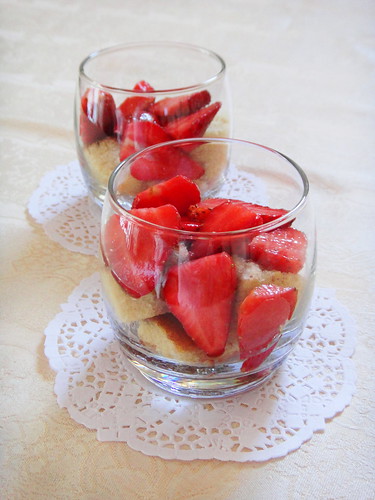
- Place in the fridge and allow to cool. To prepare the strawberries, combine sliced strawberries with sugar.
- Add vanilla and stir well. Allow to stand for 20 minutes until the strawberries have released a lot of juice.

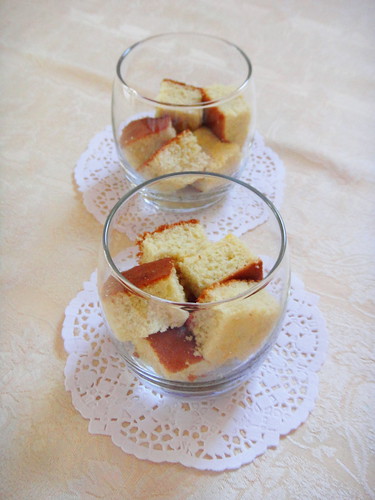
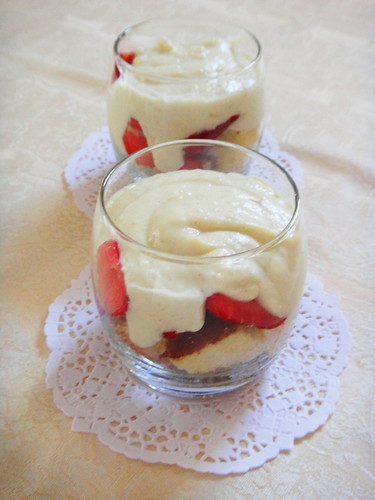
- To assemble, layer Swiss roll or madeira cake slices with macerated strawberries and the custard cream.
- Top trifles with whipped cream, fresh sliced strawberries and a sprinkle of icing sugar. Makes 6 servings.
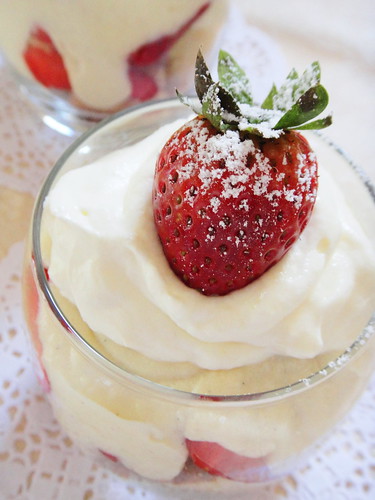
Strawberry & Cream


Recent Comments